Category: Smart Home

  • Network configuration for Thread/Matter

    Network configuration for Thread/Matter

    During my integration of Thread into my home network I got confronted with two problems:

    • The pairing process startet succesfully, the device was found but when reached the configuration mode it took endless time and ended with the result, that the paring process was not successfully.
    • The pairing process and integration was susccessfully but the device lost the connection after a certain time and I was not able to reconnect it.

    After some tries and researches I found the reason in my network configuration which was per default not optimized for a Thread network. There are two important things to know about Thread/Matter:

    • During the pairing process the device connects, using bluetooth. If the bluetooth connection is established the keys of the Thread network are exchanged and then the device connects to the Thread network. If this is sucessfully the configuration and integration is done. But if this connection fails the mobile device stucks in the configuration mode until a timeout is reached.
    • Thread lies heavily on IPv6 and the network behind the border router must fulfill some requirements. Esspecially in business networks these requirements are not fullfilled per default.

    In the following, I will show what must be changed in the UniFi network to get a stable Thread network even with multiple border routers. Finally I will also describe some settings on my Watchgurad UTM for Thread, representing the situation if you have a “business grade network”.

    UniFi Settings for Thread

    On your UniFi system it is important that you check your VLAN settings where the Thread devices should live. In my situation all IoT devices including my Thread devices, have an own VLAN called VLAN6. To adjust the settings in your UniFi controller webinterface go to Settings -> Network -> Select your IoT VLAN or the default one, if you do not have separated into multiple VLANS. After selecting the network a dialog is opened. There, please check if “IGMP-Snooping” is enabled, if not, enable it:

    IGMP stands for Internet Group Management Protocol, an IPv4 technology for multicast. IPv6 uses MLD (Multicast Listener Discovery) to achive the same result. However a lot of devices disable multicast even for IPv6 if IGMP is not enabled.

    After enabling “IGMP-Snooping” on UniFi the pairing process should successfully finish and the Thread network will be stable.

    If you have a business enviroment as described above, the following chapter might be helpful if you have any problems with your Thread/Matter network:

    Configuring Watchguard for Thread/Matters

    As written above, I need to made some changes on my Watchguard, that Thread/Matter works without problems. Some settings are not suggested but if you have problems try if it helps.

    Enable IPv6 support for the VLAN of your IoT/Thread devices:

    These settings should be enough, that your Watchguard works with IPv6 devices:

    • Enable “Send Advertisment”.
    • Be sure that you have “Disable DHCP” for IPv6, otherwise you can get problems with your border routers.

    After storing this settings, test, if the paring process is now working and the Thread network is stable. If not try the follwing additional settings. Disable this setting is not suggested because it weaks your network security:

    In your Watchguard web interface go to Firewall → “Default Packet Handling” and disable “Drop Spoofing Attacks”.

    Again this is not suggested by watchguard, but probably it will solve your problem!

    Now your Thread/Matter pairing should work without any problems and the thread network should be reliable.

    Please feel free to leave any comment.
  • Integrating Aquara M3 as Thread/Border Router into Home Assistant

    Integrating Aquara M3 as Thread/Border Router into Home Assistant

    In this blog entry I will describe the way how to integrate and use the Aquara M3 Hub as Thread/Border Router for Home Assistant. It can be used to integrate third party matter devices like Eve Weather or Ikea TIMMERFLOTTE into HA.

    Disclaimer: I am an IT-professional but not an Home Assistant expert therefore there might be better ways to do this, so please be free to comment it.

    Requirements

    I am using HA 2025.12.5 installed as virtual machine on TrueNAS. Installation was done using this community post.

    I installed the following add ons and integrations in HA which are required:

    • Matter Server (Add-On)
    • Matter (Integration)
    • Thread (Integration)

    Add-Ons does not exist in the docker version of HA!

    All the following steps should/must be made on the HA app on the smartphone:

    Step 1: Configure Aquare Hub

    First step is to configure the Aquara Hub using the Aquara app:

    1. Power on the Aquara Hub (it will talk to you)
    2. Download/Open the Aquaria App and click on “+” and “Add device”.
    3. Now the app searches for devices using bluetooth, ensure that the app has the right to use bluetooth.
    4. After a short time, the aquaria hub should be found.
    5. Just press on the symbol and configure, there are no special steps you need to do.
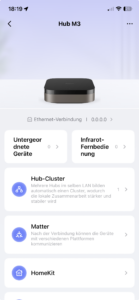
    6. Finally you should see your Aquara Hub and also get the details when pressing on the symbol:

    Now, the first step ist done and the hub is ready to add it to HA.

    Step 2: Integrating Aquara M3 Hub into the Matter server of HA

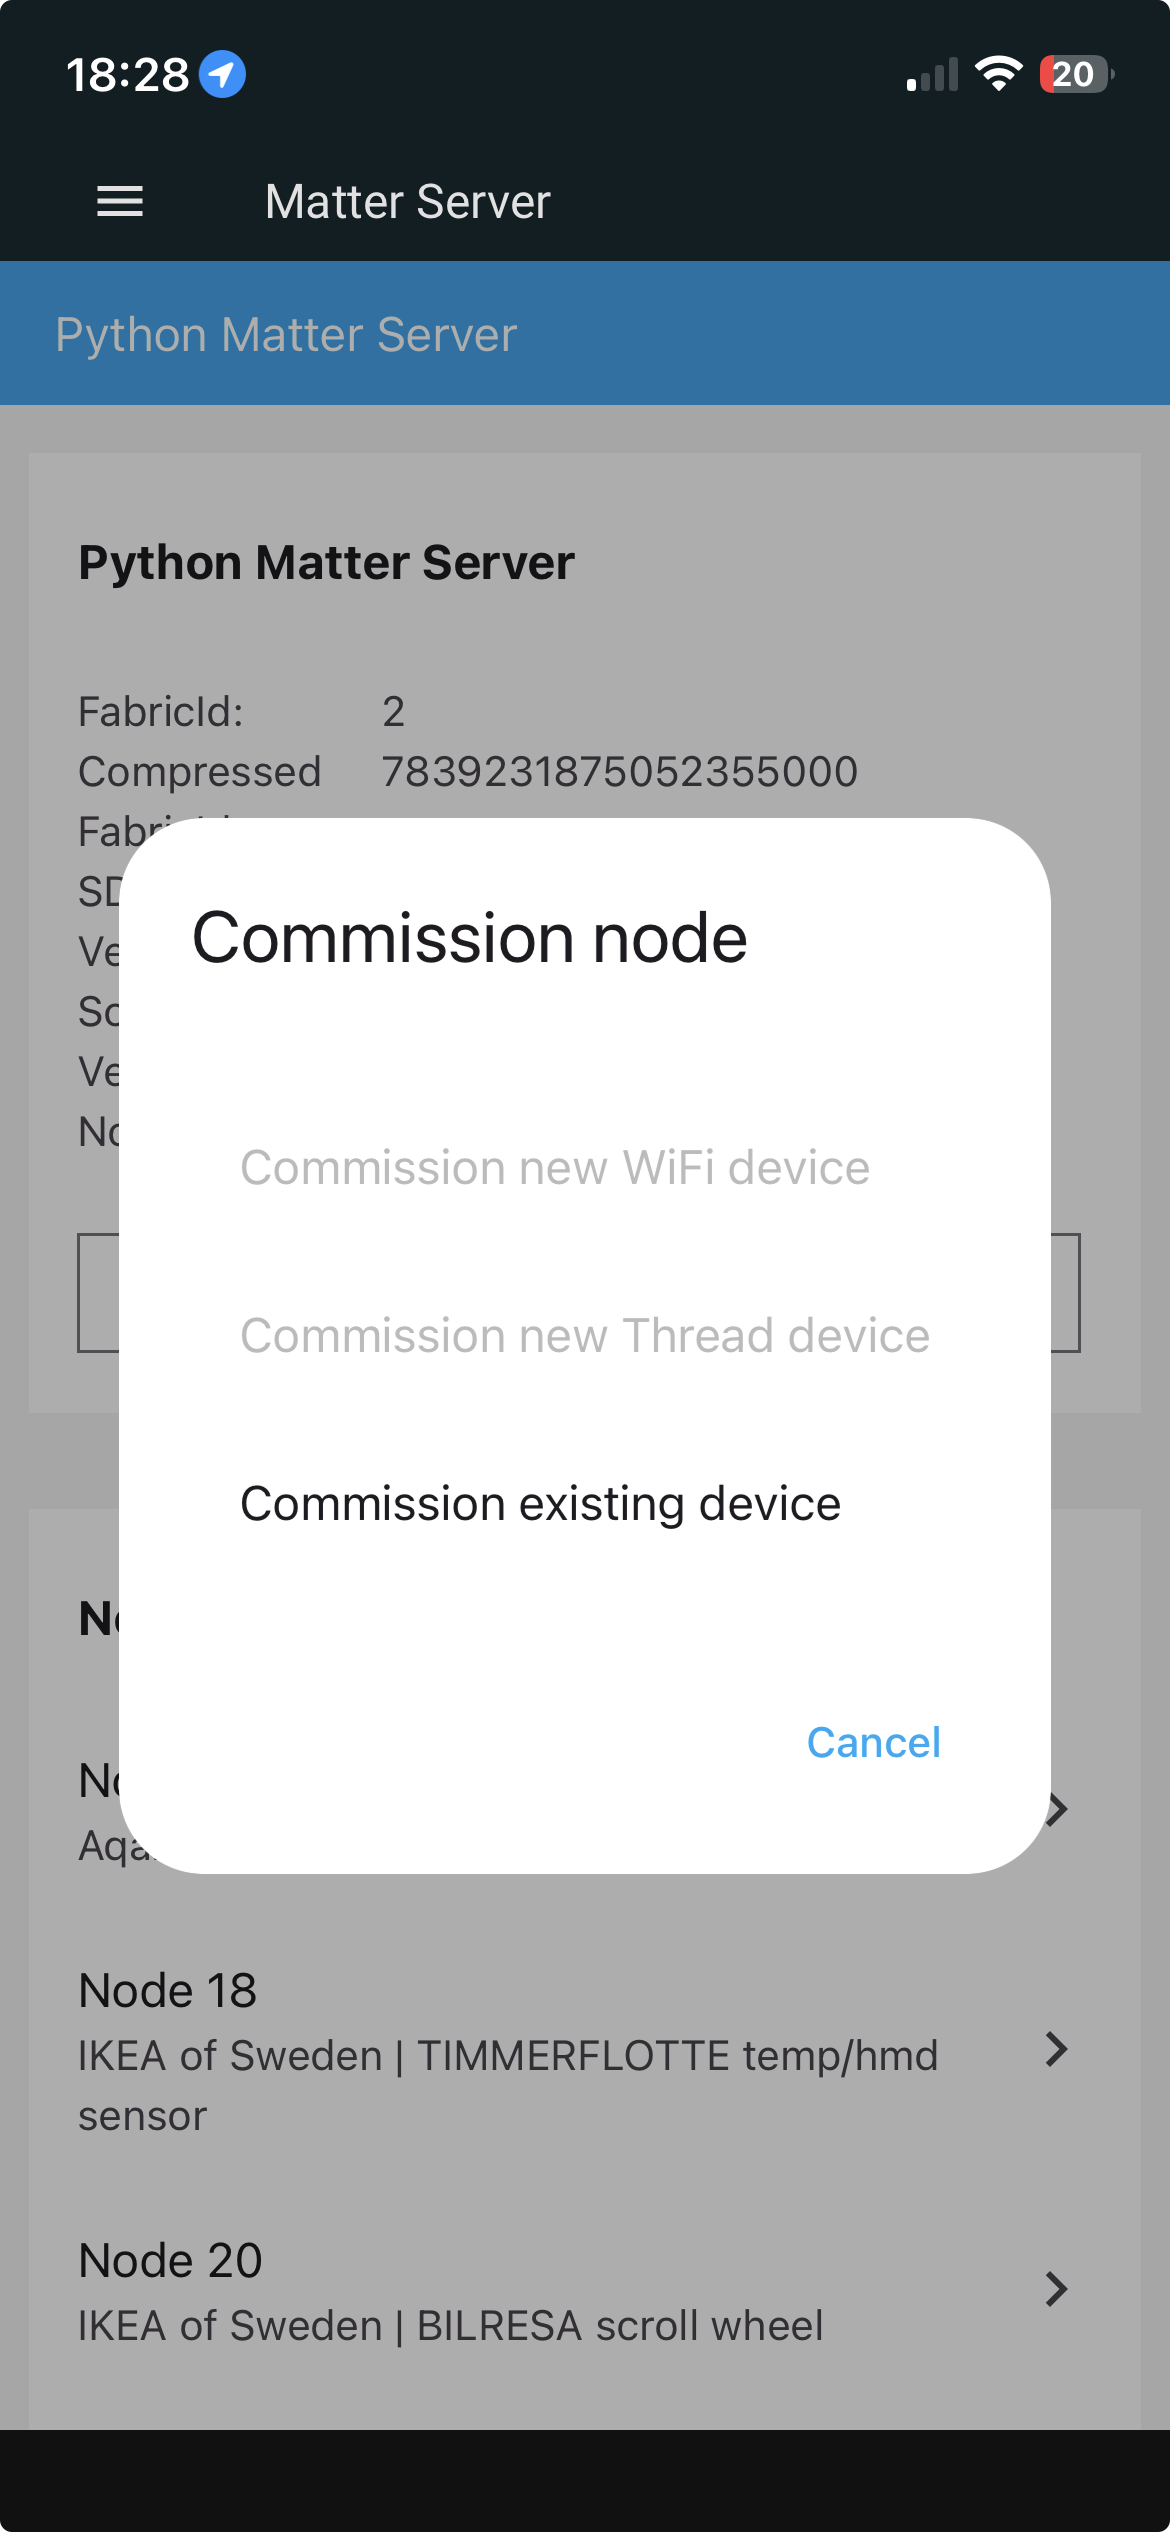
    1. As already mentioned in the requirements, you must have installed the matter server in HA. Now go into the Matter-Server and click on “+ Commission Node” to add a new node and then select “Commission existing device”:
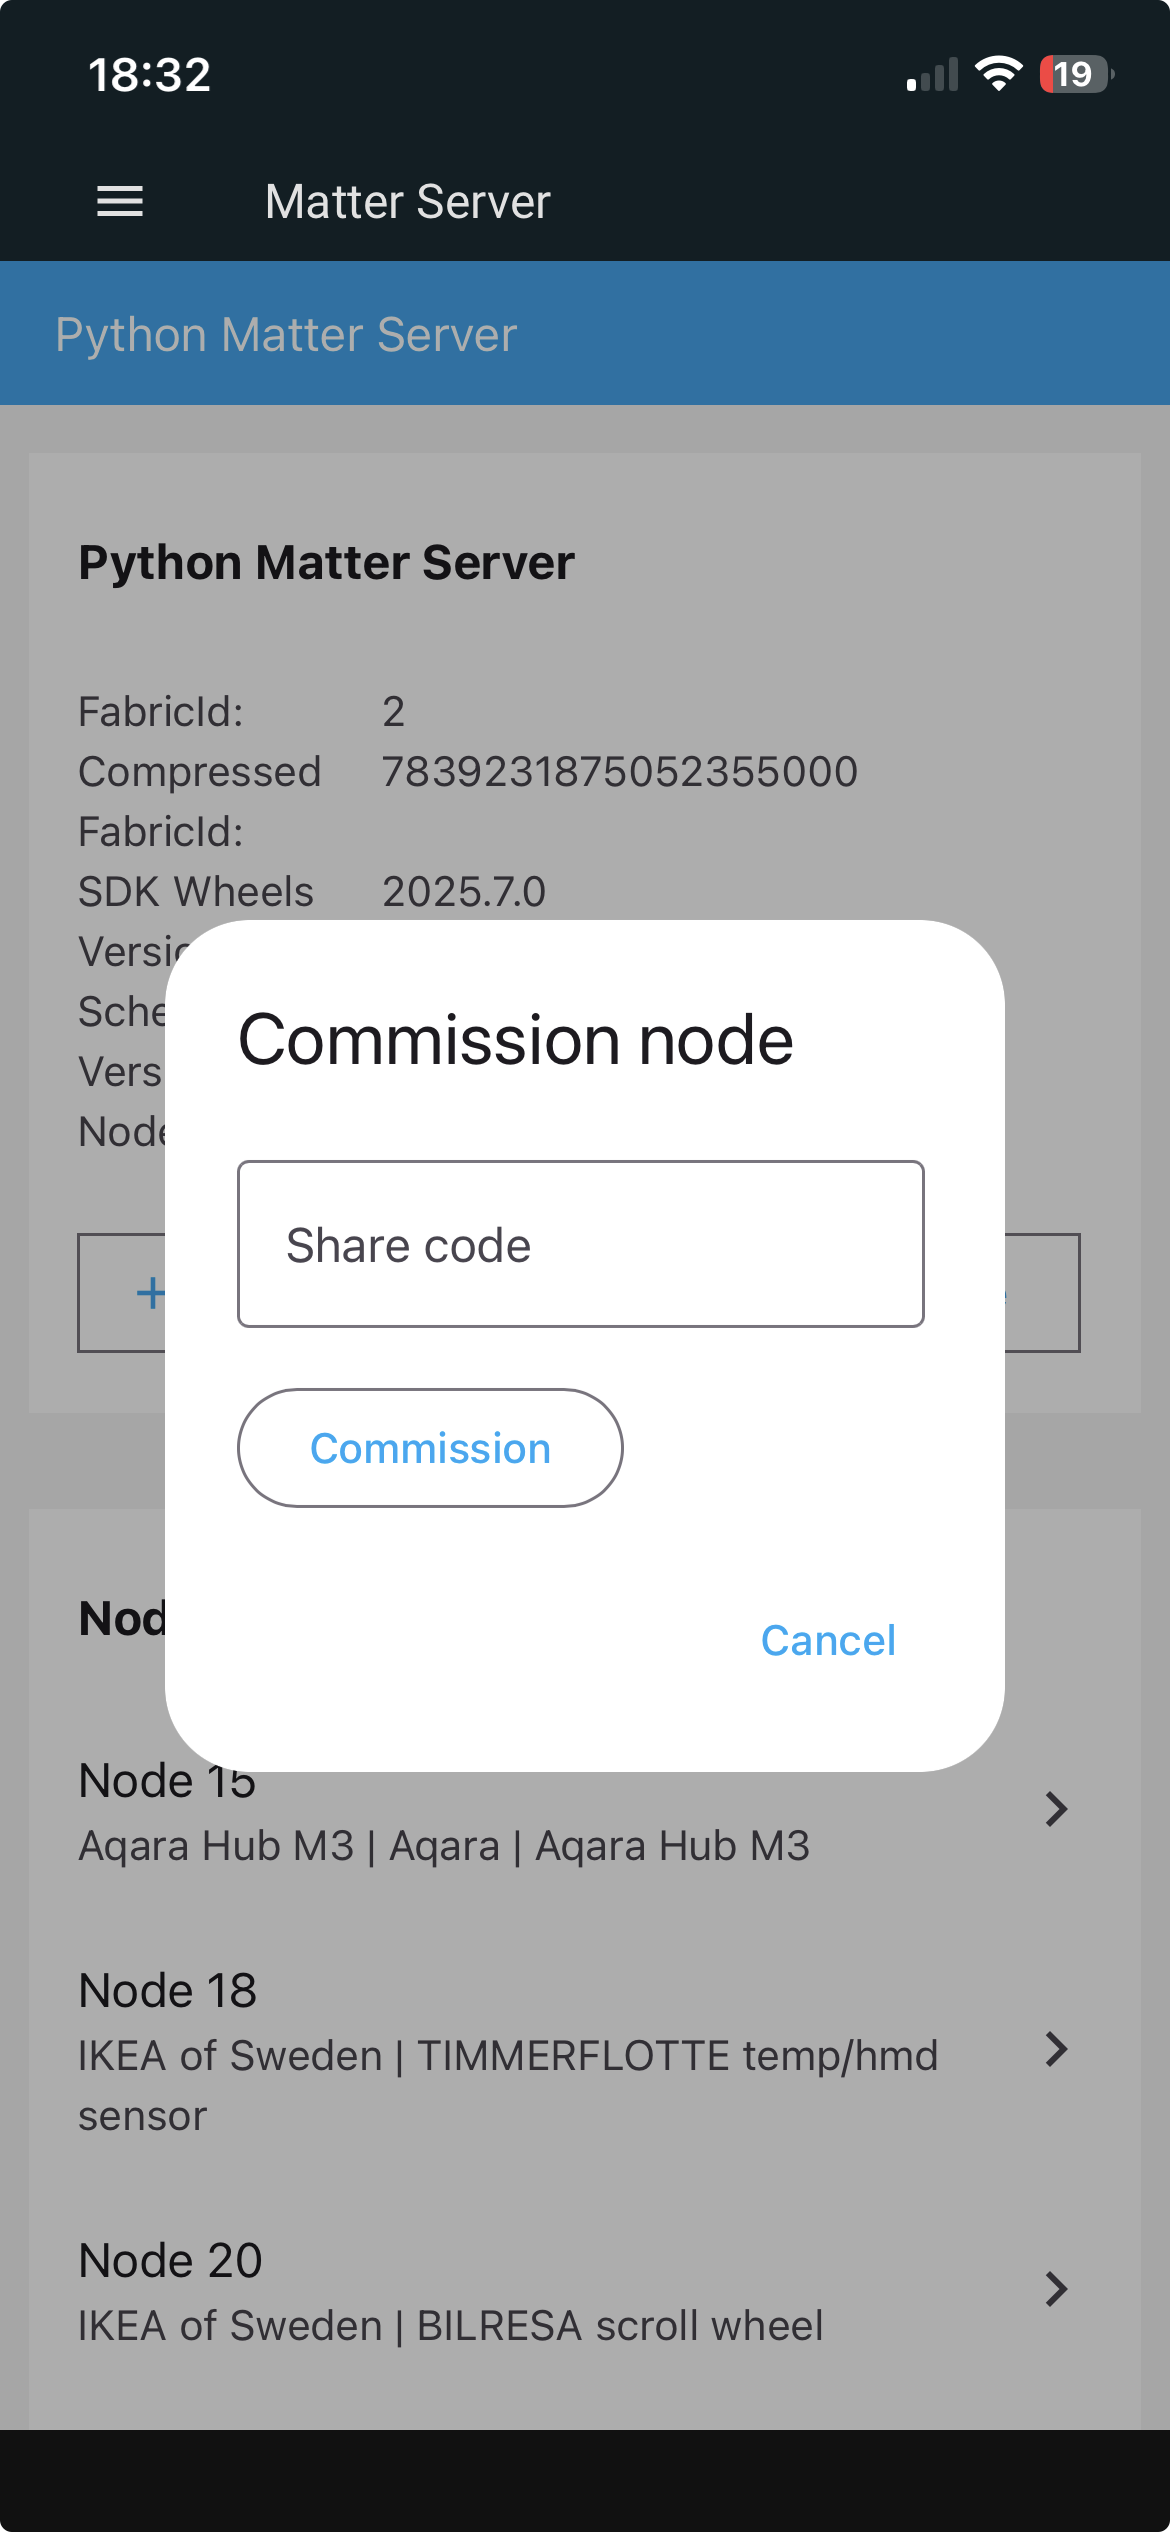
    2. Now you have to enter the share code of the node:
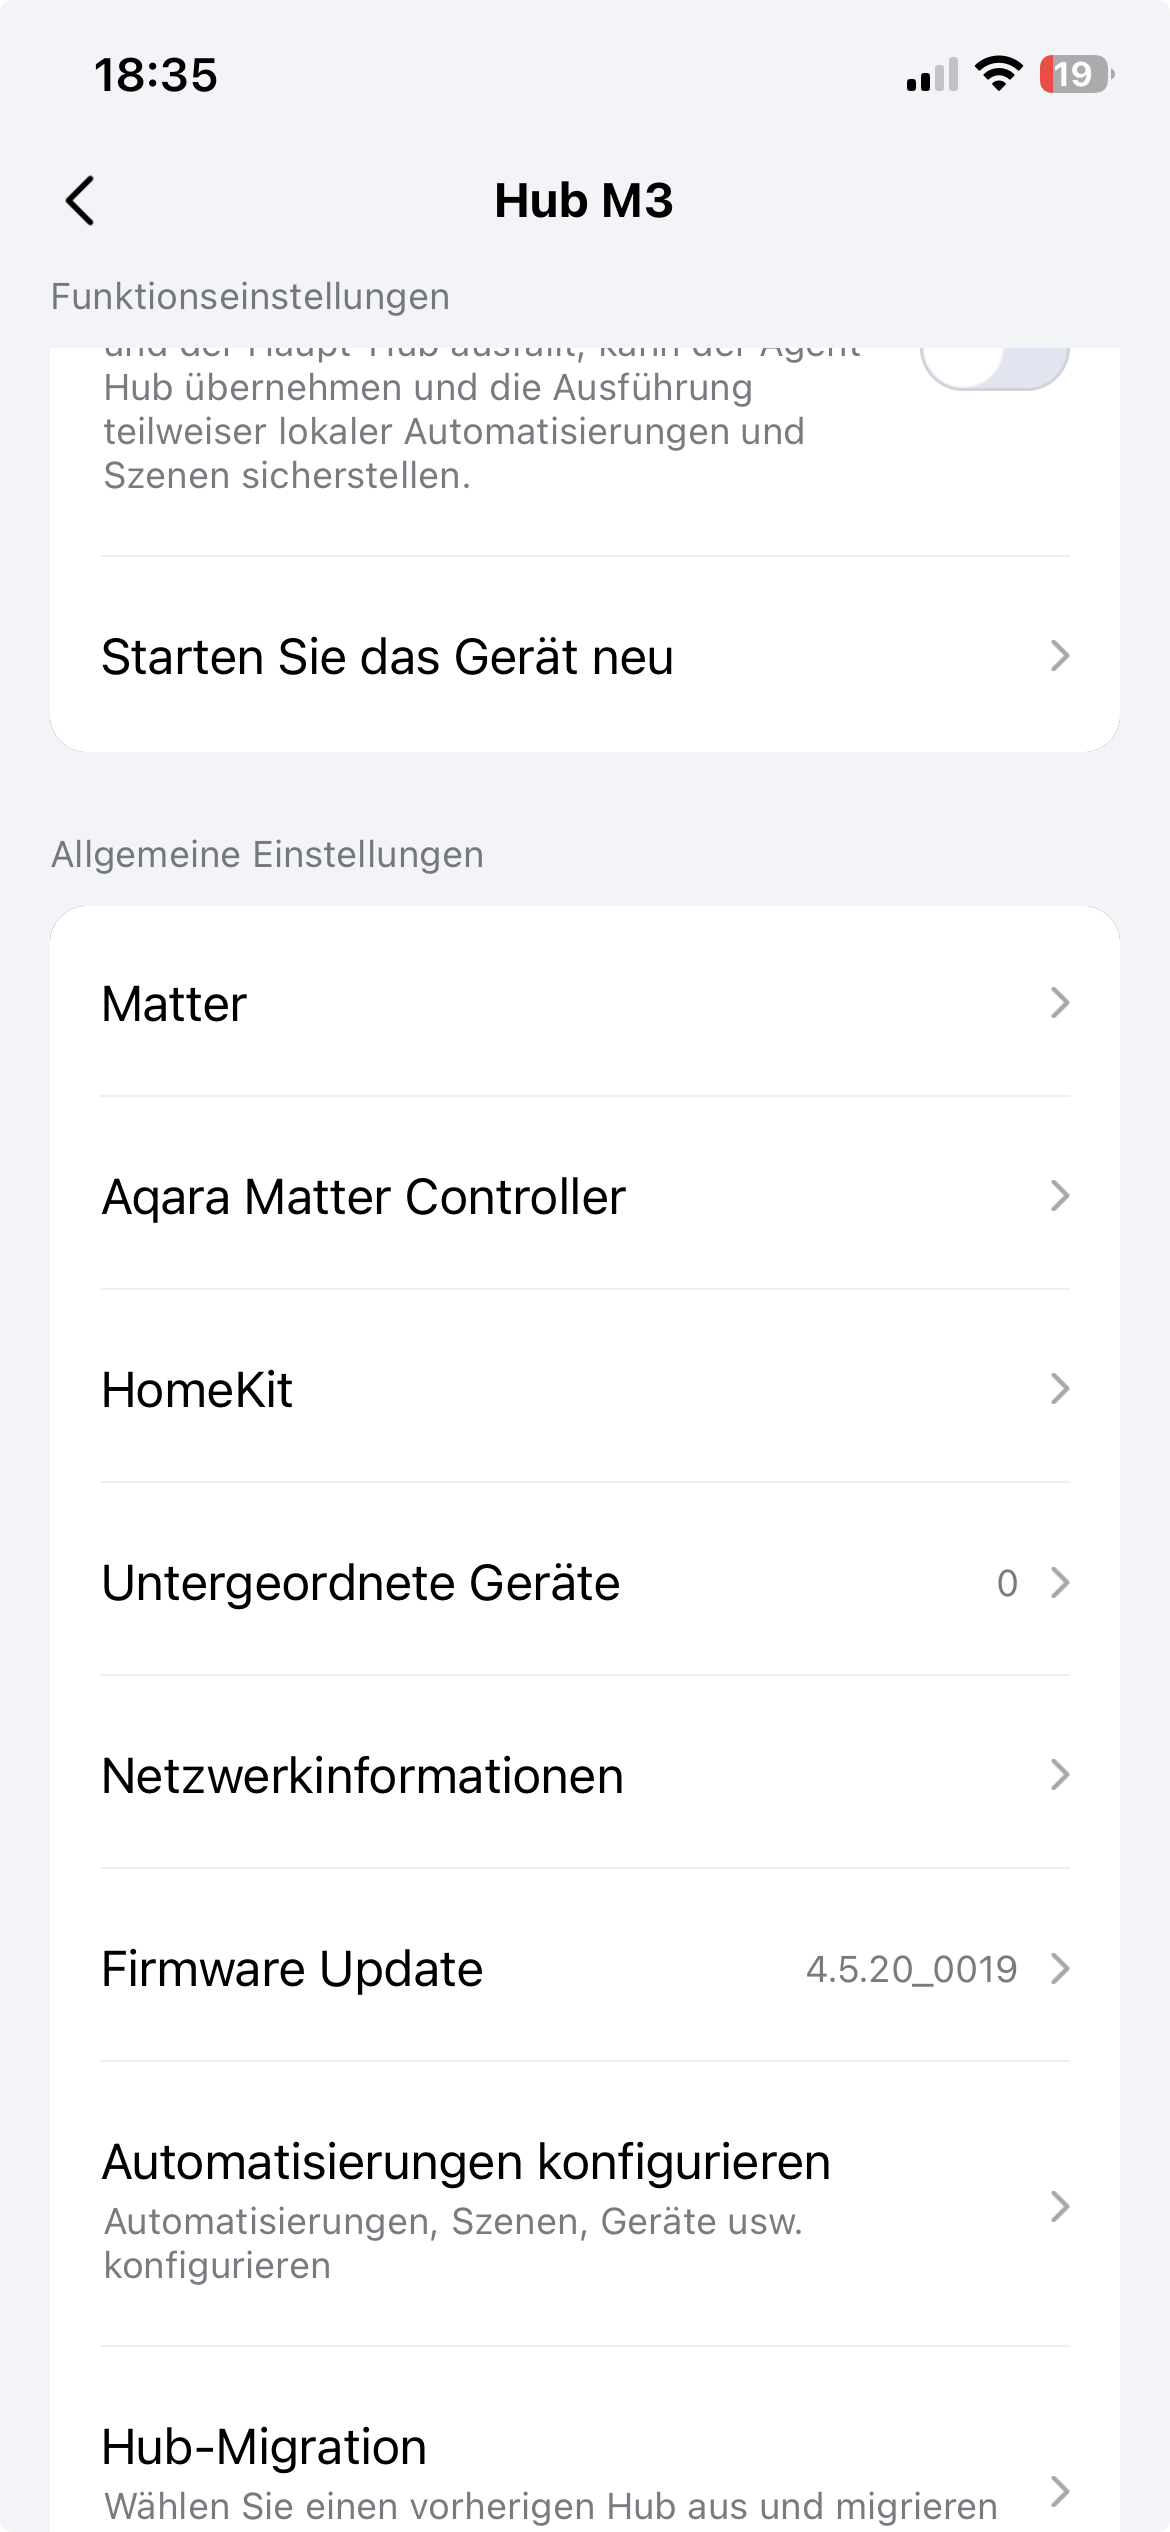
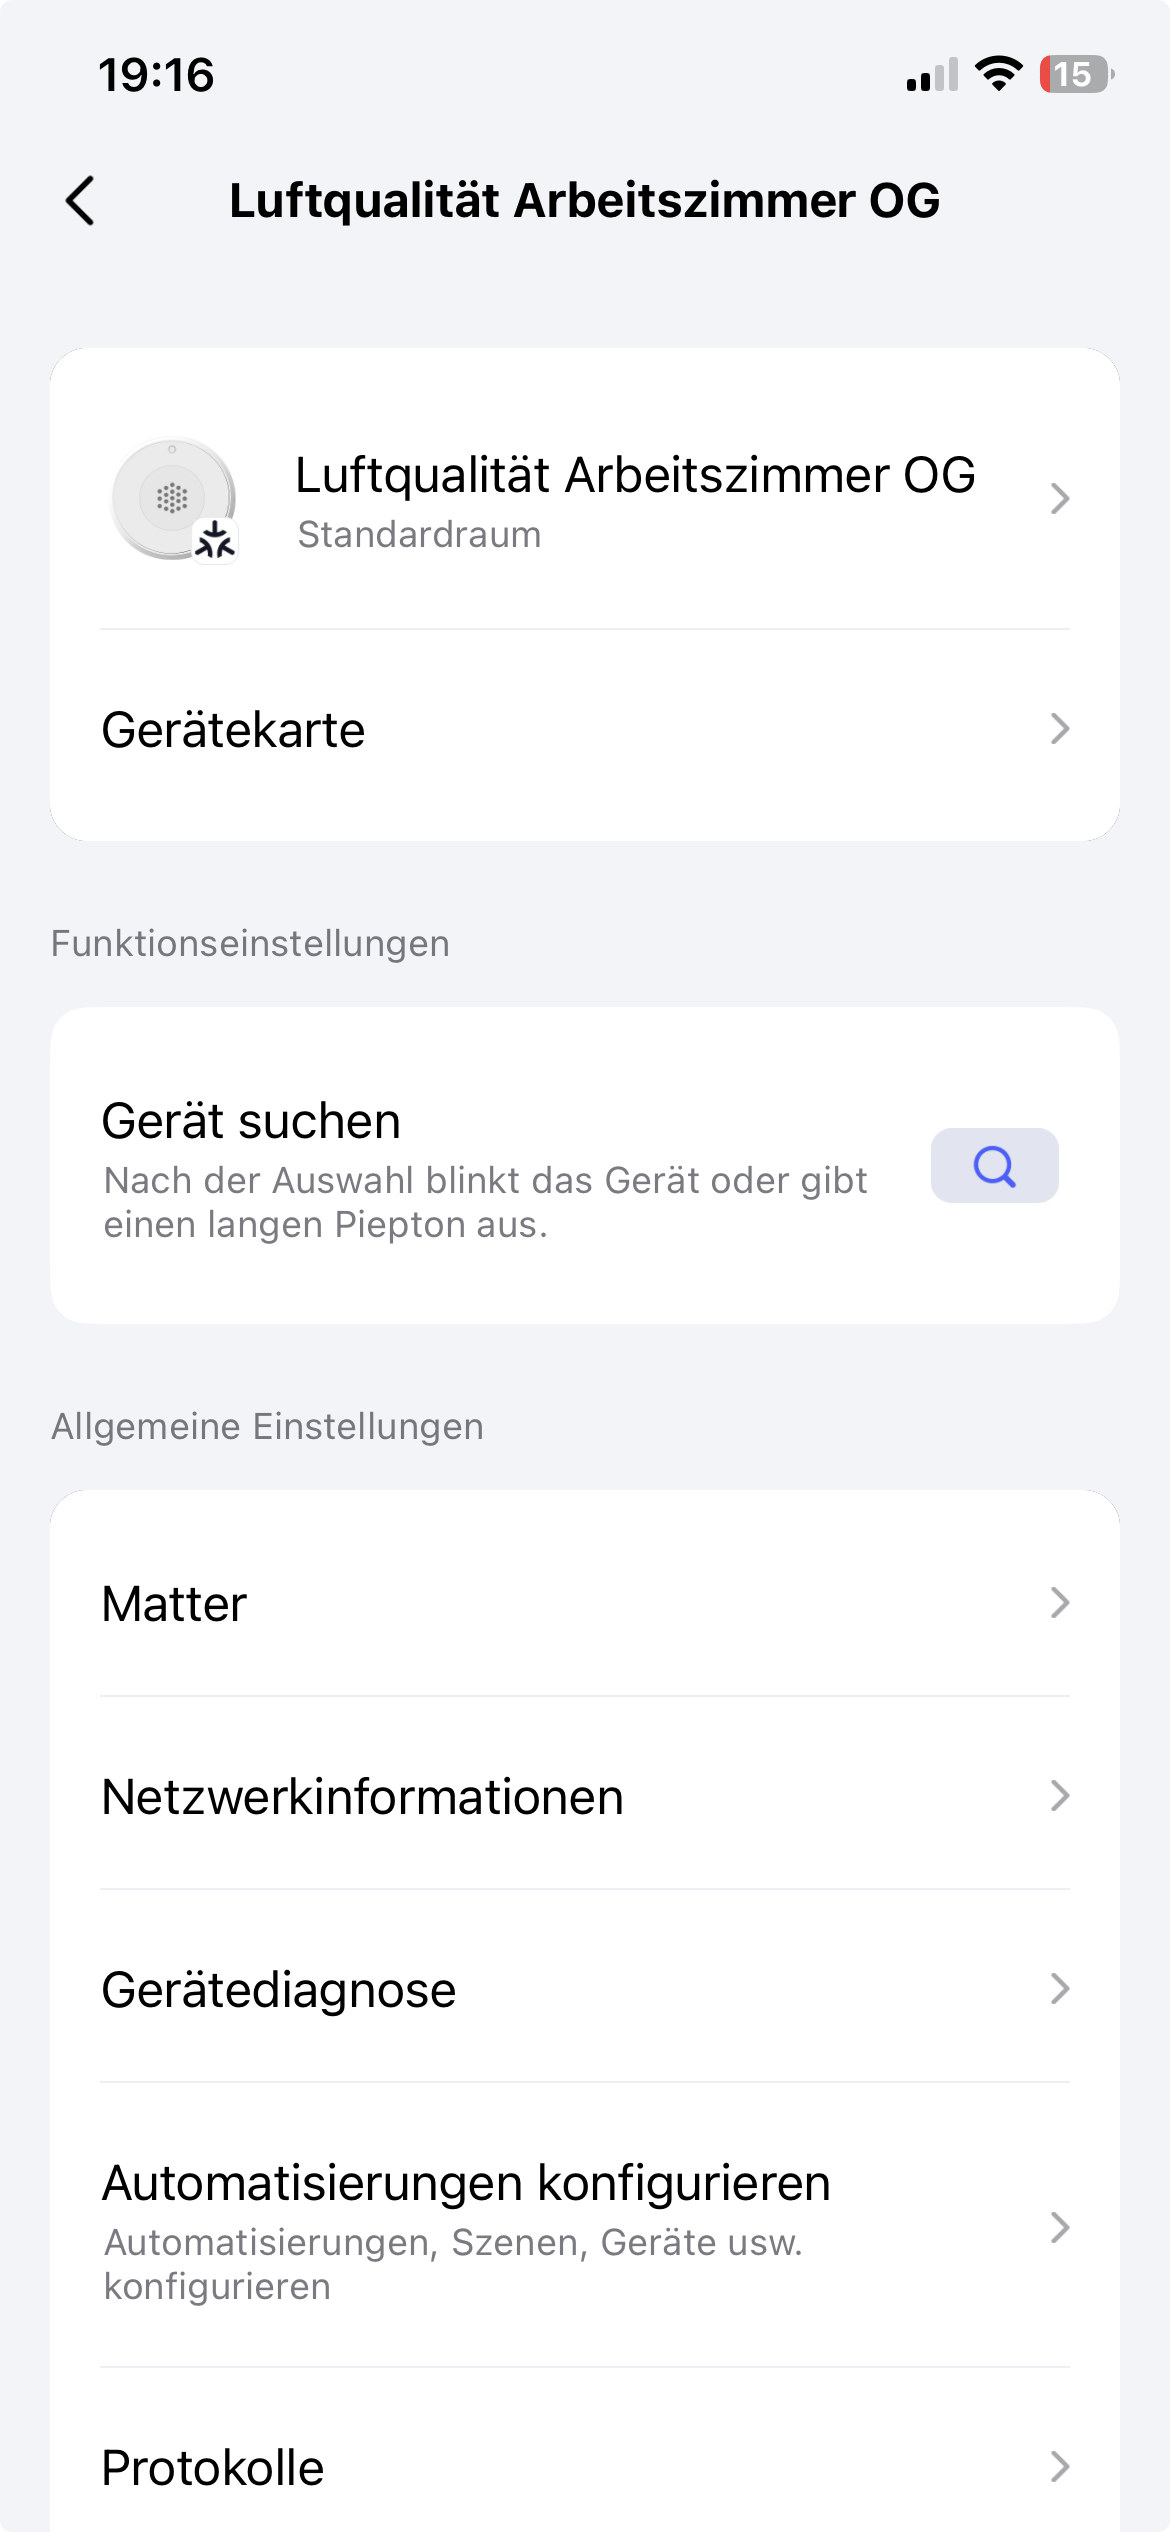
    3. To get the share code open, the aquara app, select the hub, press the three dots in the top right corner, scroll down and select matter:
    4. Select Matter Paring-Code:
    5. Copy the shown code into the field of step 2 in HA.
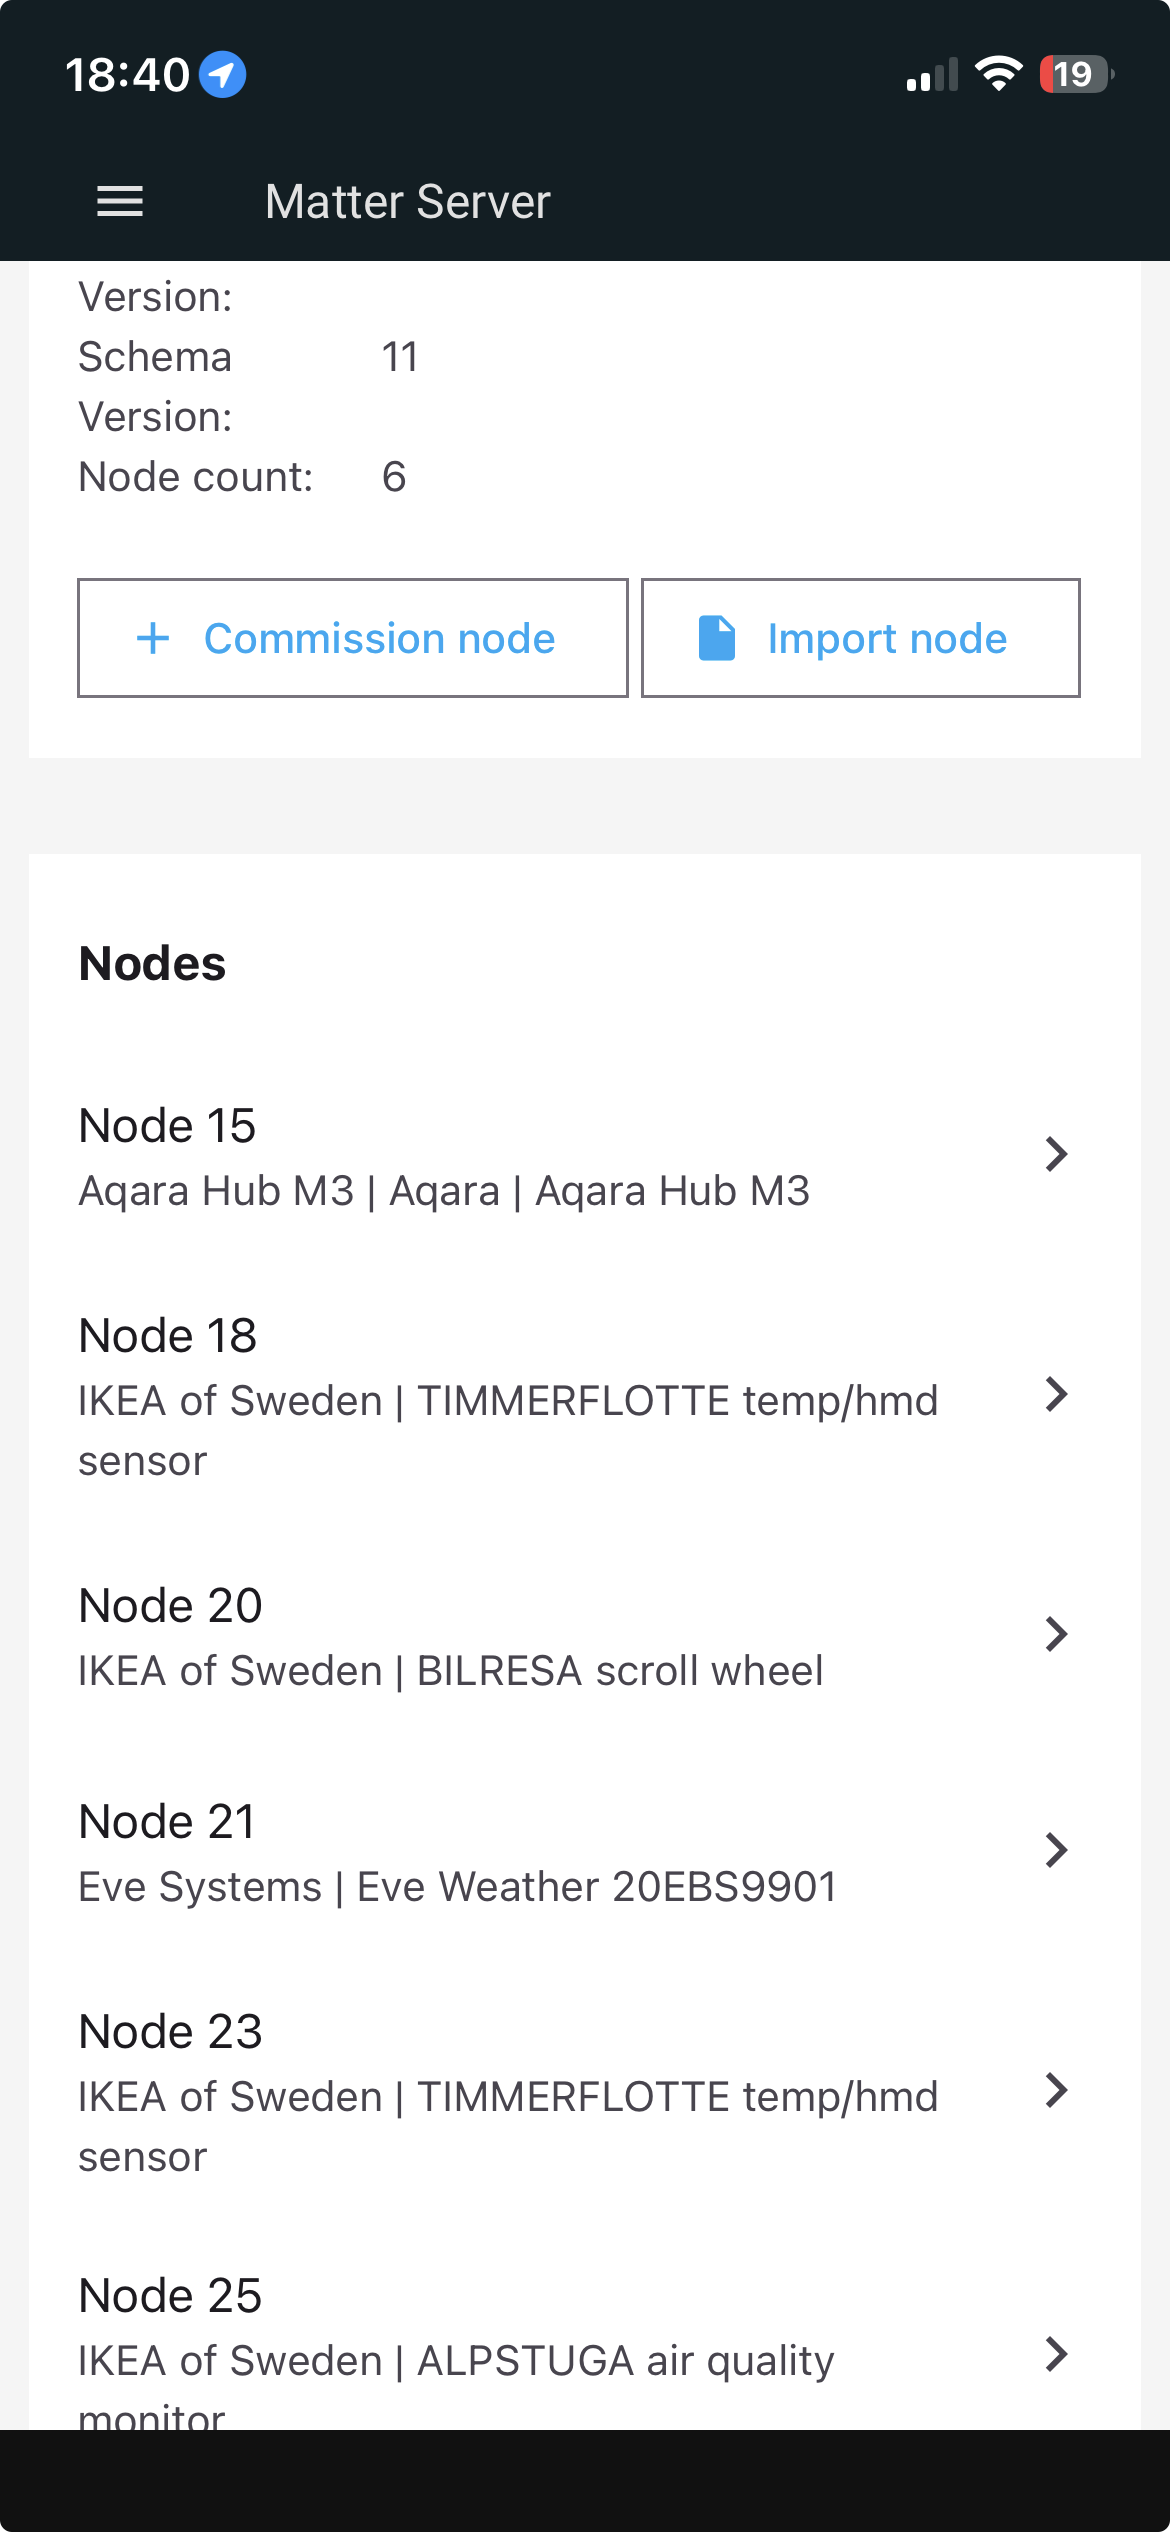
    6. Finally press commission, and after a short time the Aquara M3 Hub is added as node to the matter server:

      As you can see in the screenshot, later on every matter device will be displayed in this view as node, when pressing on the node you can get more details.

    In the next step we have to add the Thread network, created by the Aquara App and select as preferred network for HA.

    Step 3: Adding the Thread network to HA preferred network

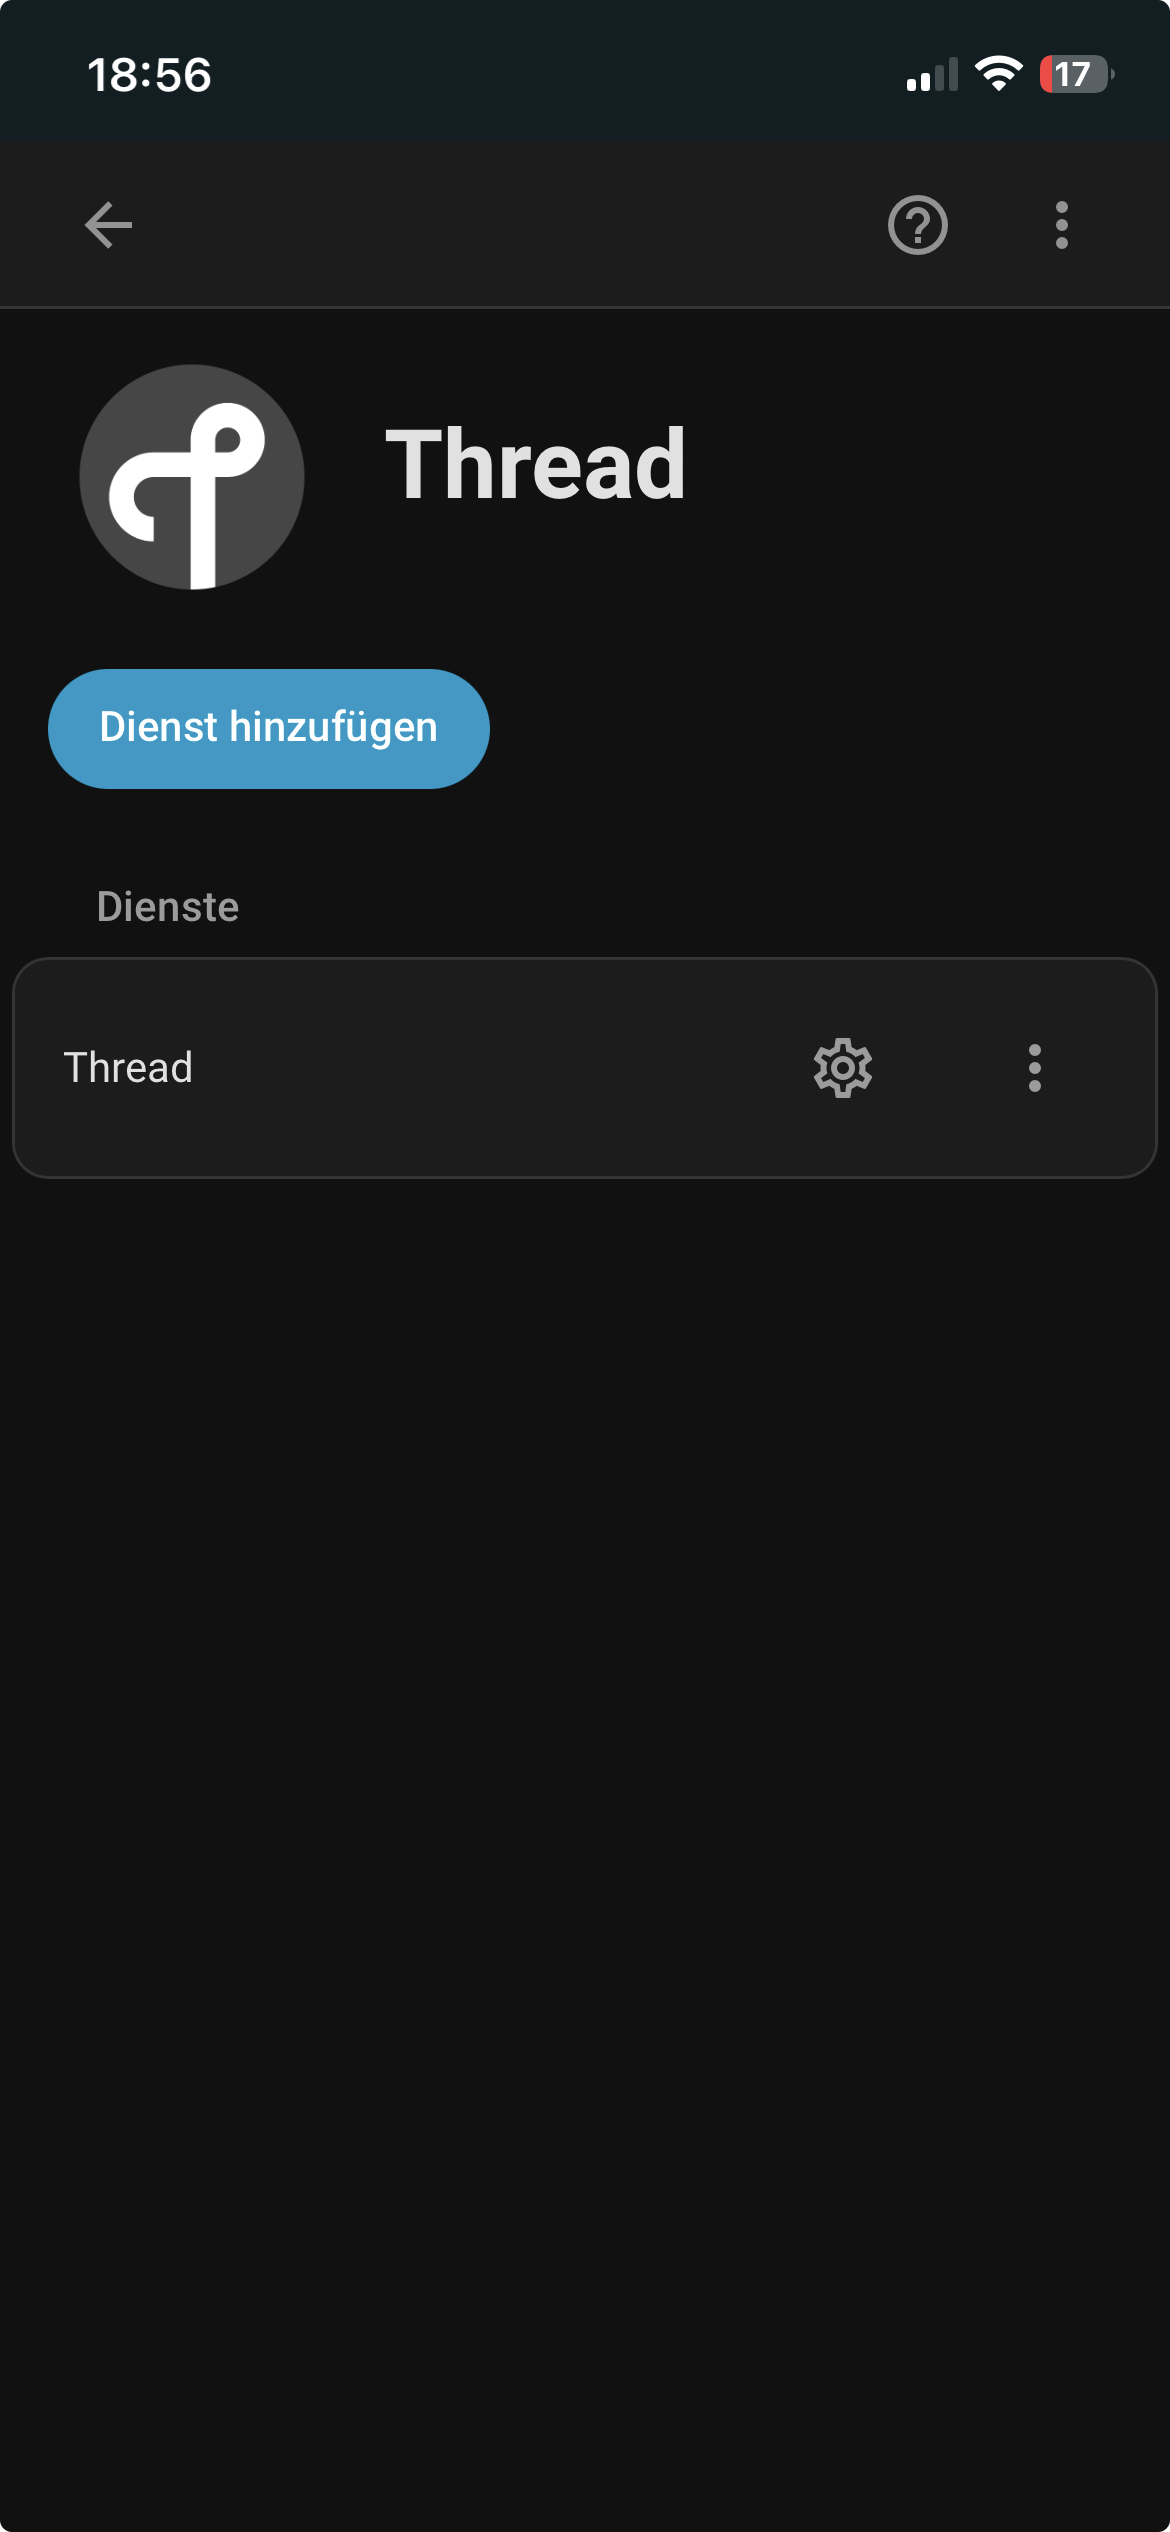
    1. Go to Settings -> Devices & Services -> Select the Thread add-in and press the gear:
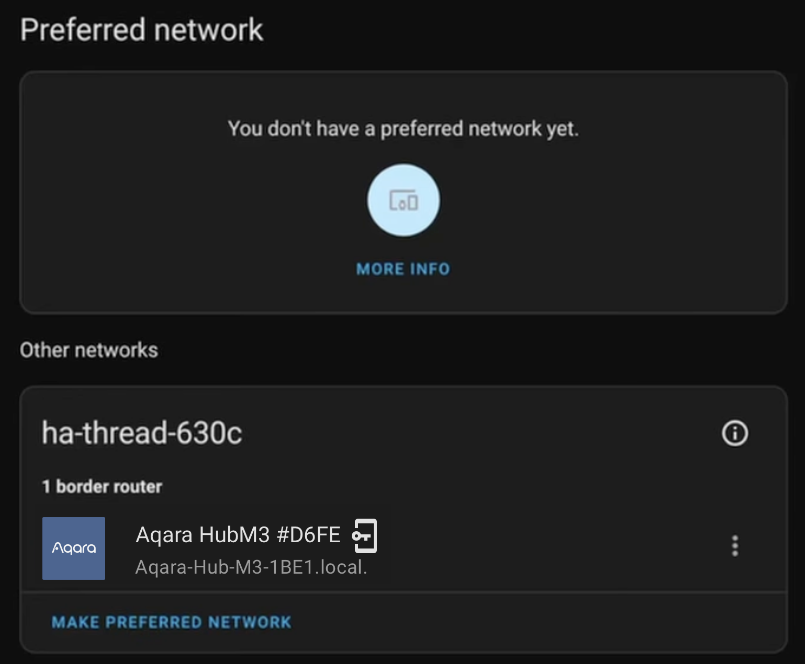
    2. Now you should see the following view, showing the Aquara Hub:
    3. Mark the Aquara Hub and then press the button “Make preferred network”.
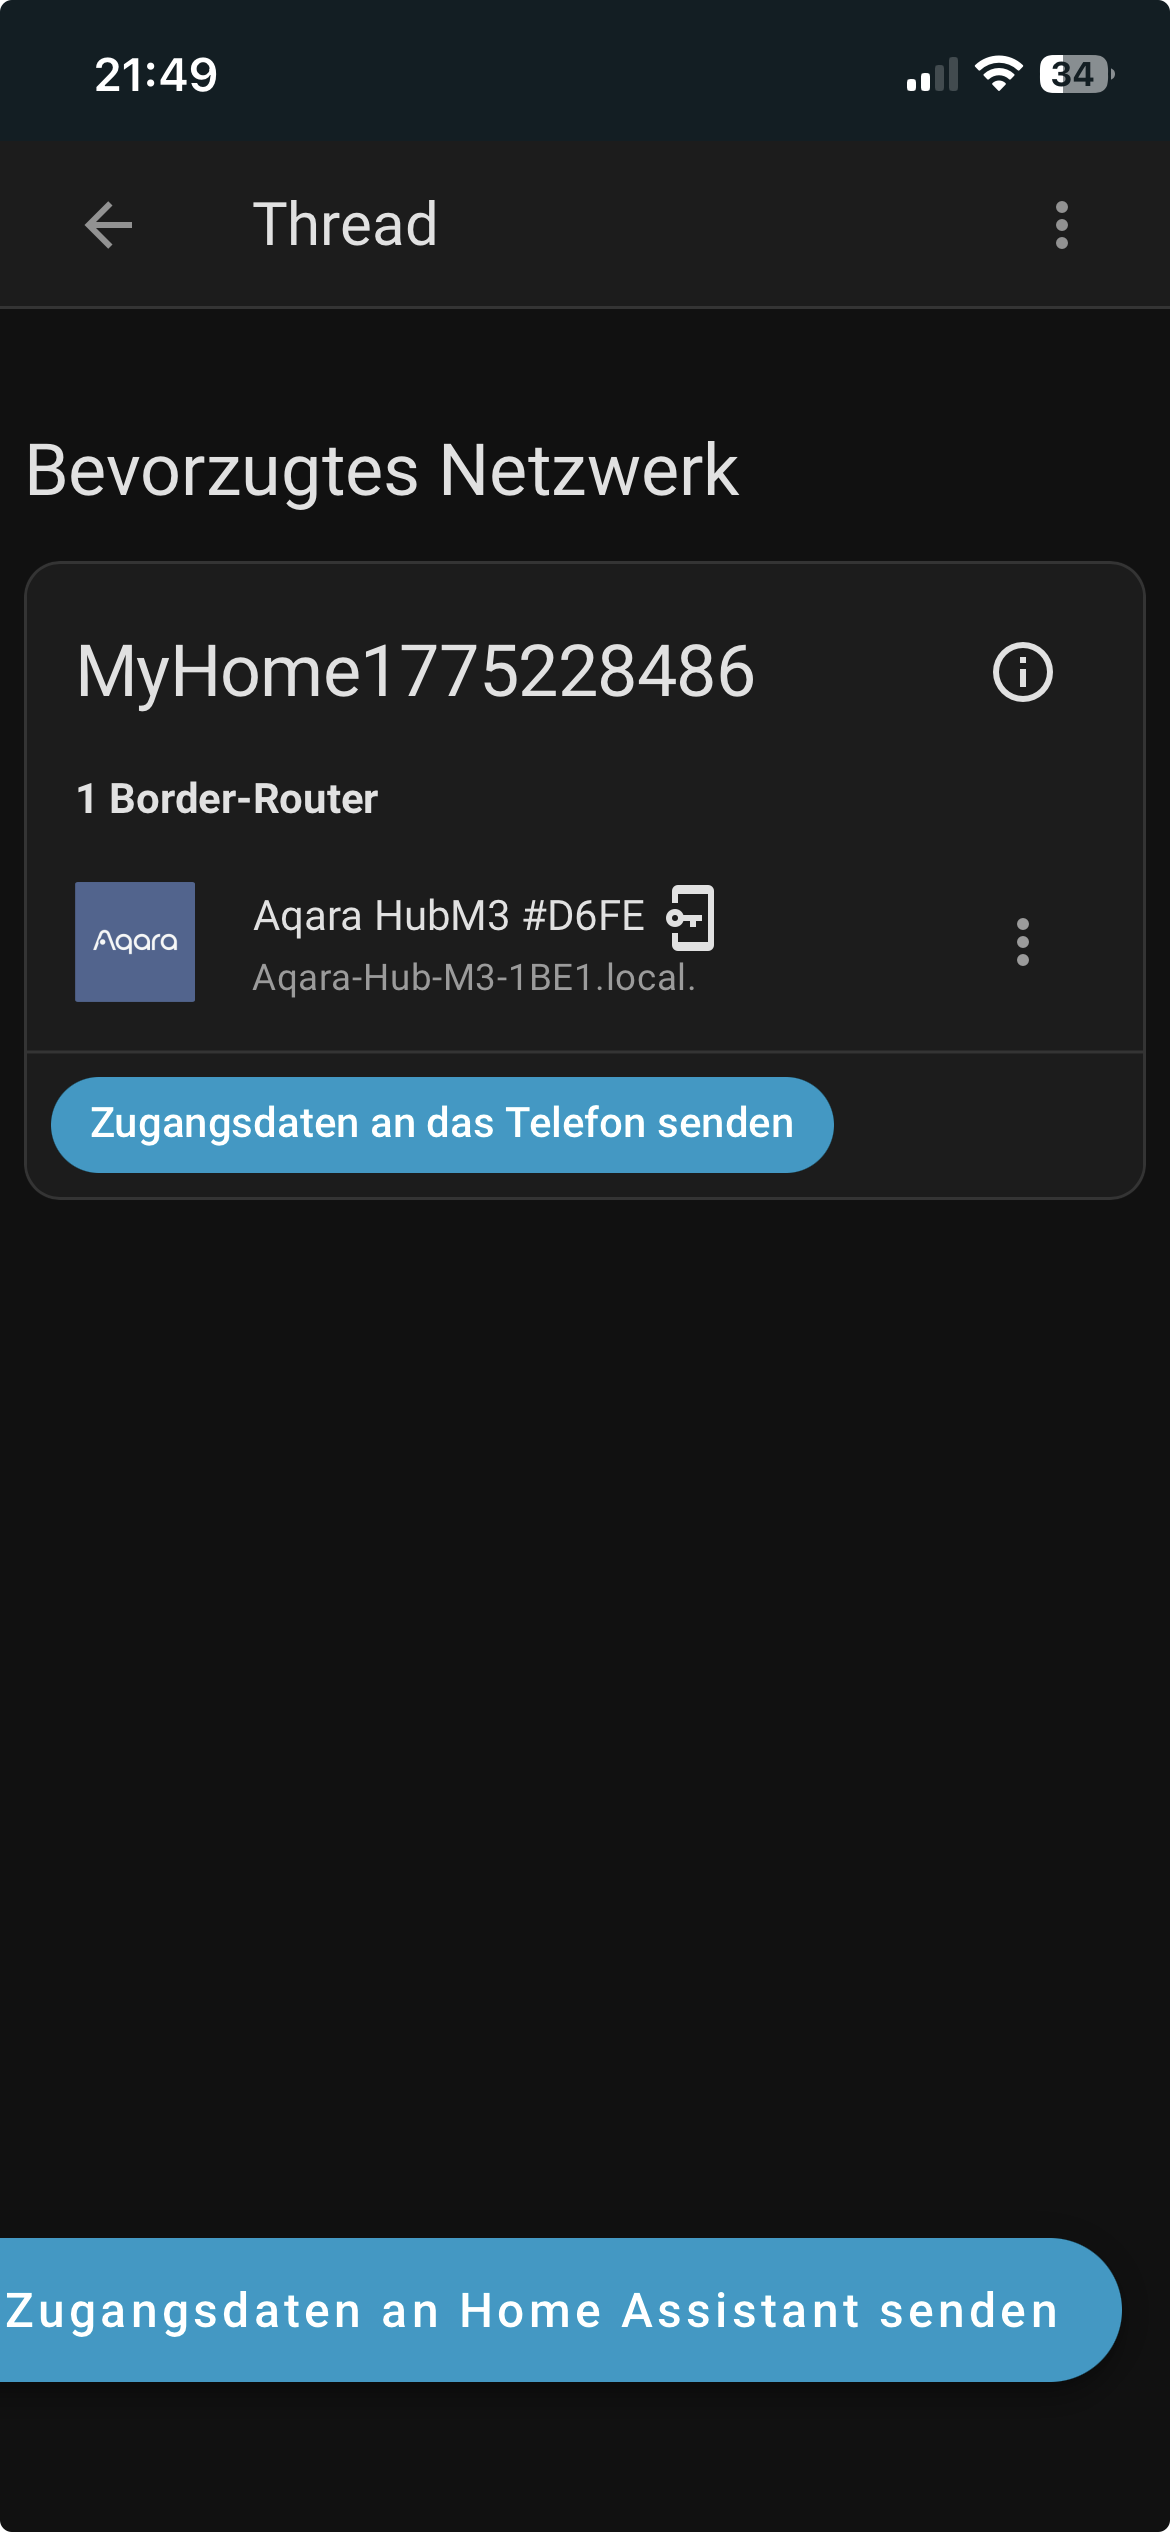
    4. After a short time the selected network become the preferred network for HomeAssistant:
    5. In the next step we need to say HA that it should use the login data of this thread network for any pairings.
    6. To do this press the three dots next to the Aquara hub and then select “Für Android & IOS Zugangsdaten nutzen“.
    7. If this was successfully you see the “door/exit” symbol next to the hub in the above screenshot.

    That was it, now the Aquara hub and its thread network is integrated into HA.

    In the final step I will give a short description how to add Matter devices using this hub into HA.

    Step 4: Integrating matter devices into HA

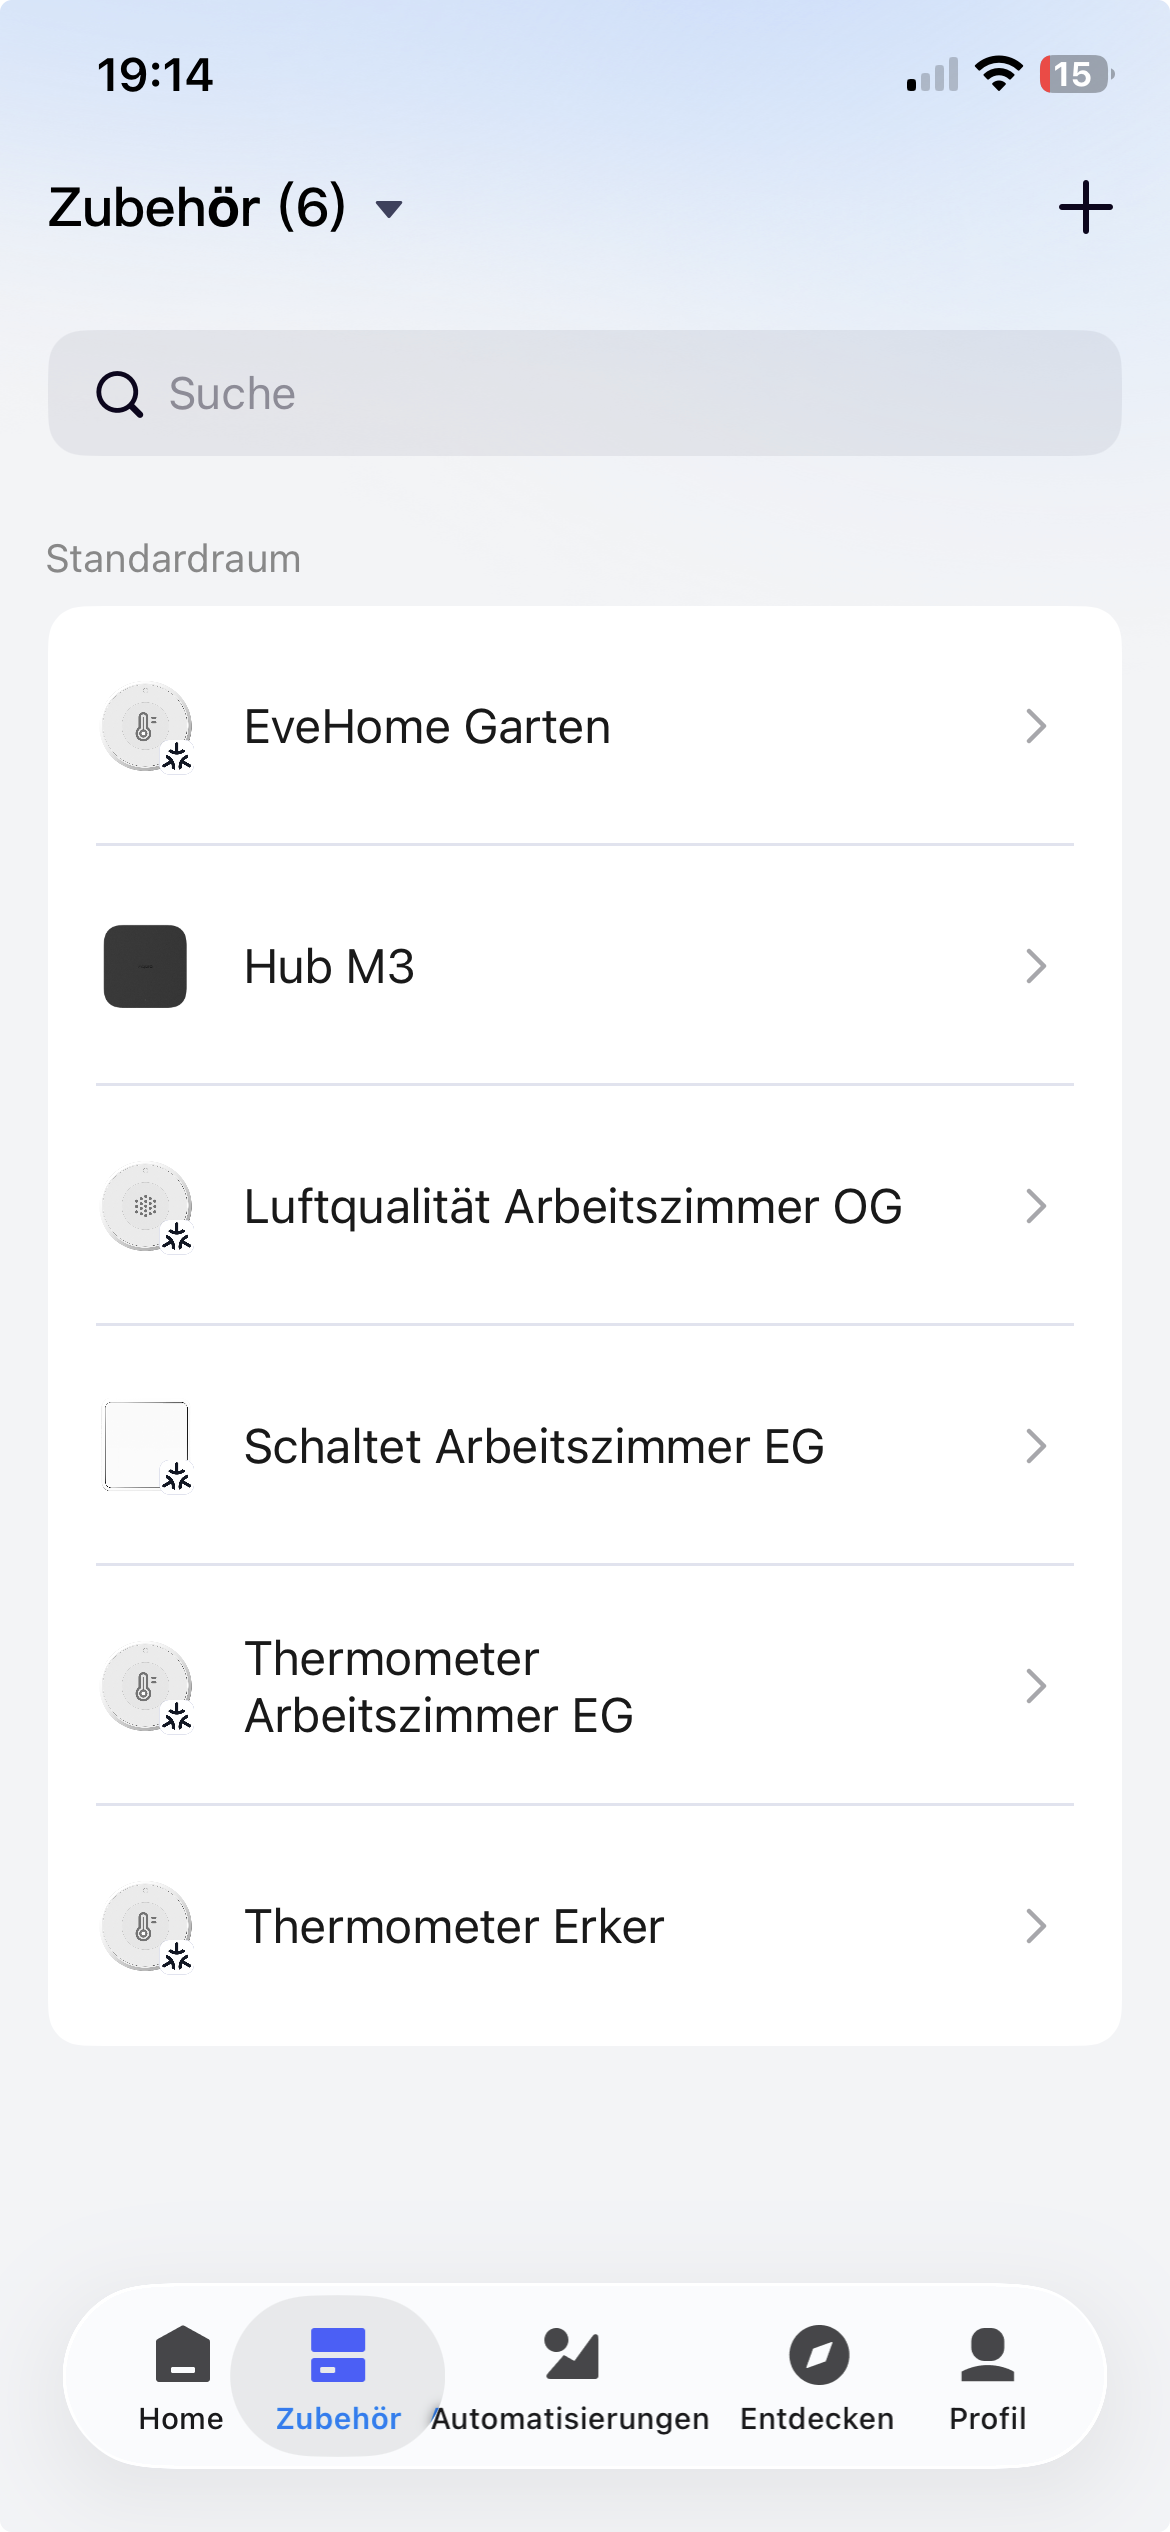
    Currently the suggested way is to integrate the device using the Aquara app and then integrating the device into HA. To do this the following steps are required:

    1. Ensure that the Aquara hub and the matter device you want to pair are in the same room.
    2. Set the matter device into pairing mode.
    3. Open the Aquara app and press the “+” symbol an select “Add Device”
    4. Now the app is searching for pairable devices in reach of the smartphone.
    5. If the device is in pairing mode it should be shown and you can select it.
    6. Follow the instructions in the Aquara app, until the device is connected to the aquara hub. Now we want to integrate it into HA.
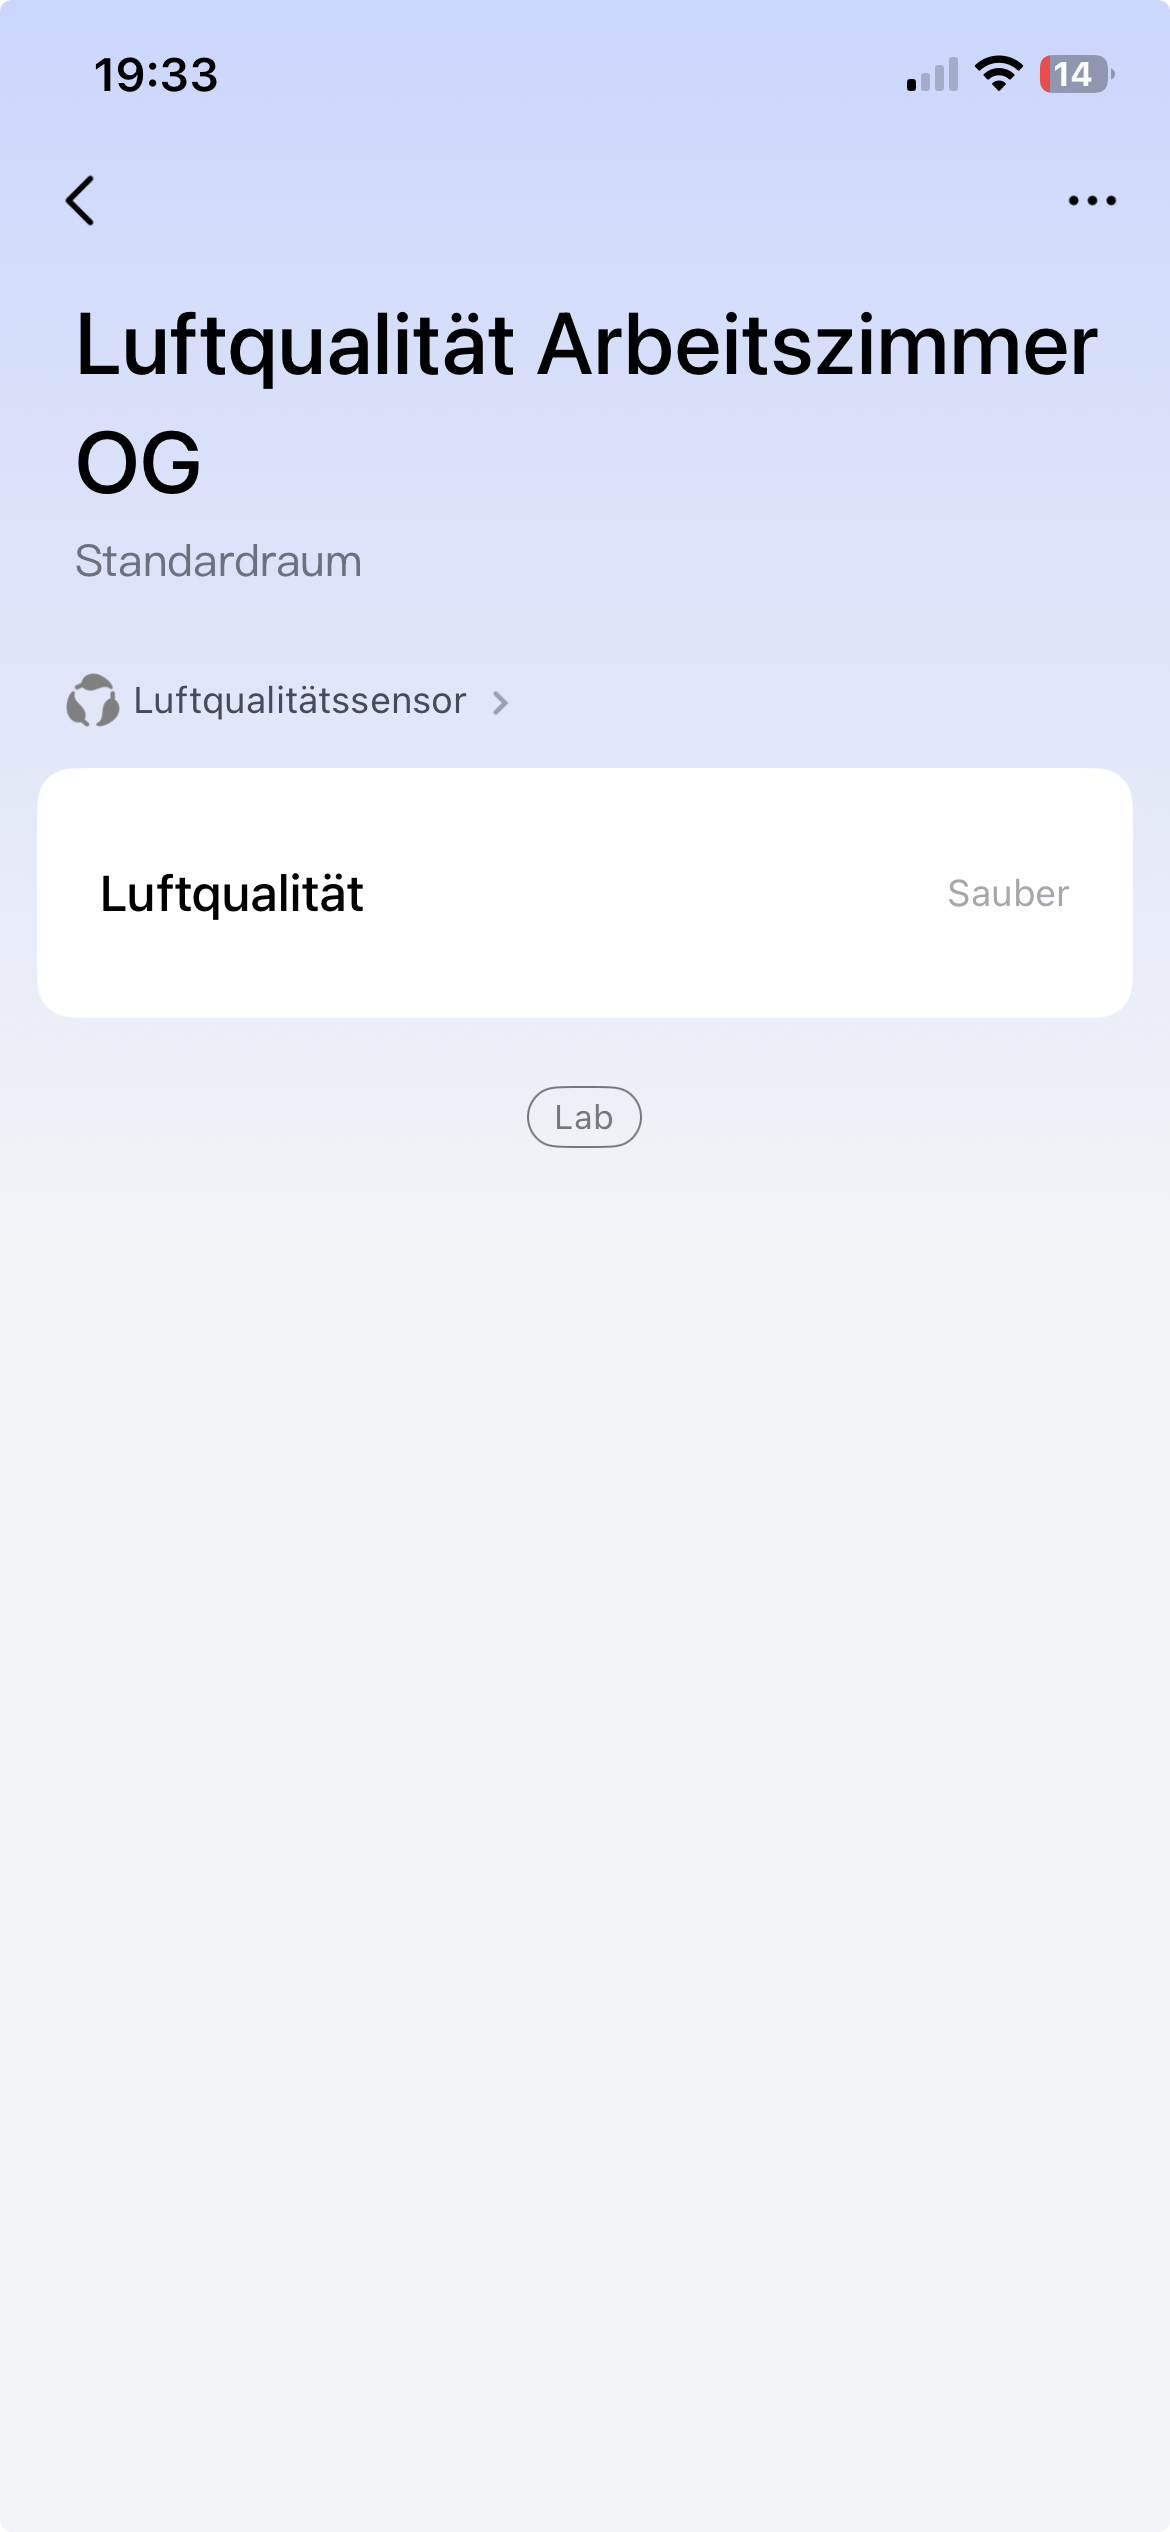
    7. Go to “Devices” in the Aquara app and select the device you want to integrate into HA:
    8. Press the three dots in the right corner of the selected device:
    9. Select Matter:
    10. Select Matter-Pairing Code:
    11. Note or copy the pairing code.
    12. Go into the HA app. Go to Settings -> Devices & Services -> Devices -> Add Device -> Select “Add Matter-Device” -> Select “Yes, it is already in use” -> Select “Different Controller” -> Paste or enter the pairing code.
    13. Press “Add Device”

    After a short time the new device should successfully added to HA and can be used.

    Links

    The following links helped me to write this entry and are interesting to dive more into it.