With UniFi Protect 5.0 Ubiquiti integrated the support of cameras from third party manufactures. In this blog entry we will integrate a Reolink PTZ camera into UniFi Protect.
Requirements:
- Ubiquiti console with installed Protect with at least version 5, in my case I already have 5.1.87.
- A third party camera in the same subnet as the UniFi console.
Preparation:
Connect the camera with your network switch and be ensure that the camera has a valid IP-address and is in the same subnet as the console. If this is not possible, it does not really matters if you know the IP-address.
When using a Reolink it is necessary to enable RTSP on the camera, otherwise it will not work. To do this, access your camera using the IP-address and your username and password. After reset the reolink uses admin as username without any password.
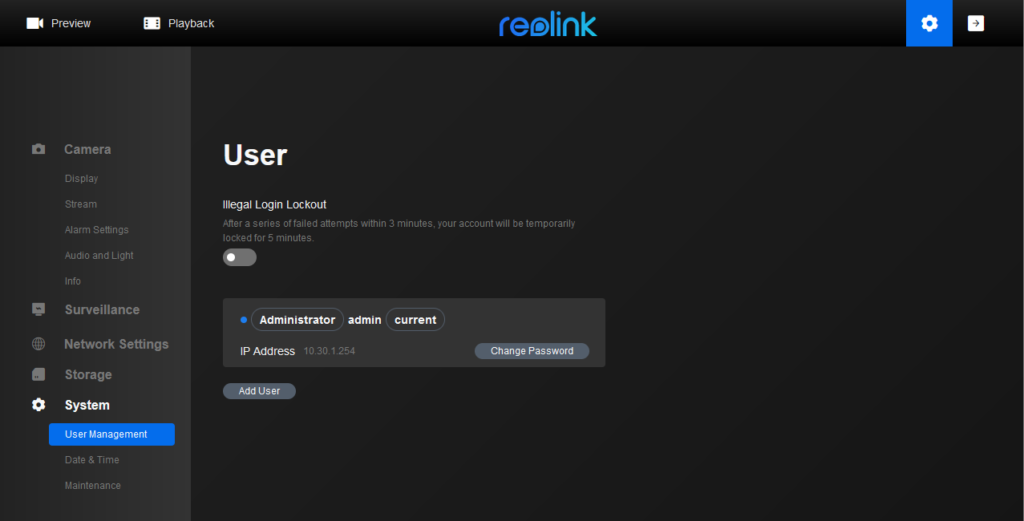
After you have login, first change the password, Ubiquiti does not work with an empty password. To do this, login into the webinterface of your Reolink Camera go to “Device Settings” -> “System” -> “User Management” and press the “Change Password” button on the admin account.
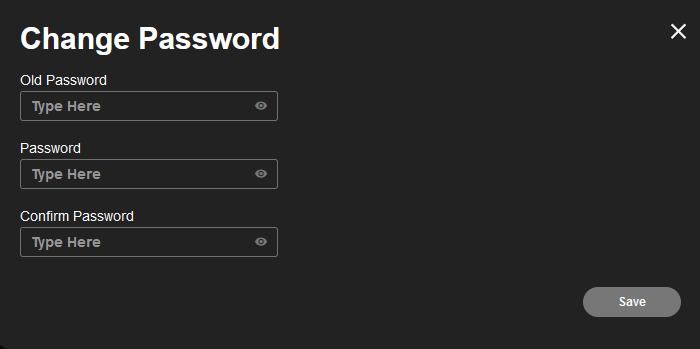
Enter the current password and then two times the new password:
After you have entered a valid password, we now enable the ONVIF support on the Reolink device, because per default this is disabled.
Switch on the “Device Settings” page to “Network Settings” and open the “Advanced” tabsheet:
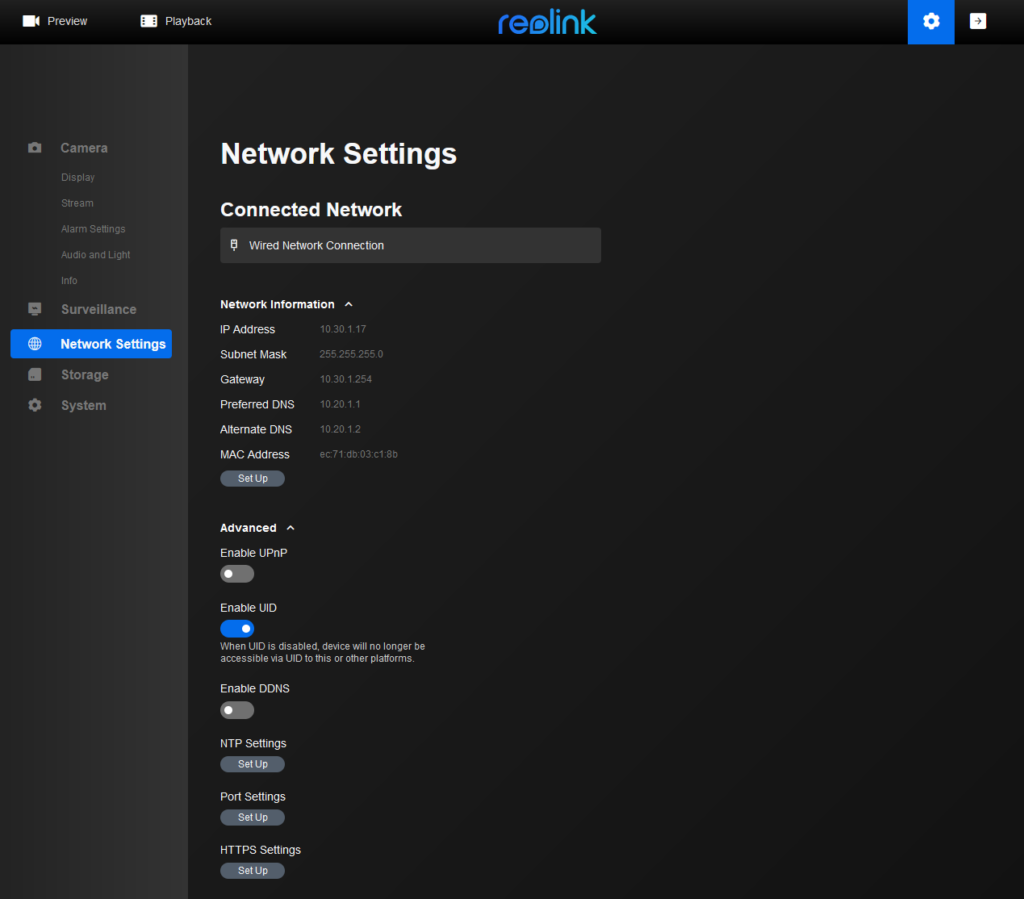
Now select “Set Up” under “Port Settings”. A dialog window is opened where you need to scroll down to the button until you find the toogles for RTSP and ONVIF, enable both:
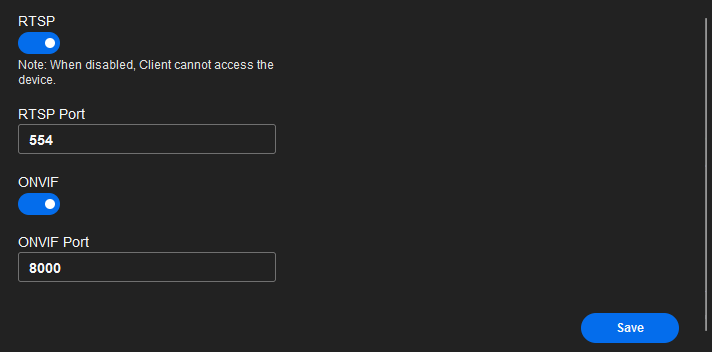
You do not need to change the default ports. Press “Save” and now you are ready to adopt the camera into UniFi Protect.
Adopting into UniFi Protect:
- Login to your UniFi Protect web application and go to “Settings” and enable the discovery support for Third-Party Cameras:
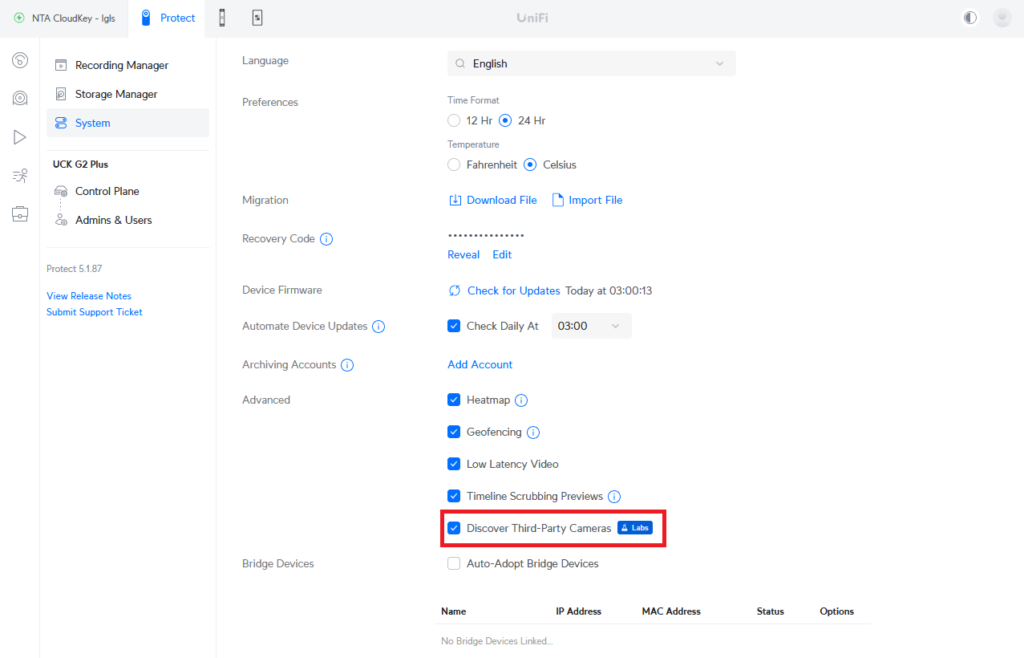
Press “Apply Changes” to store.
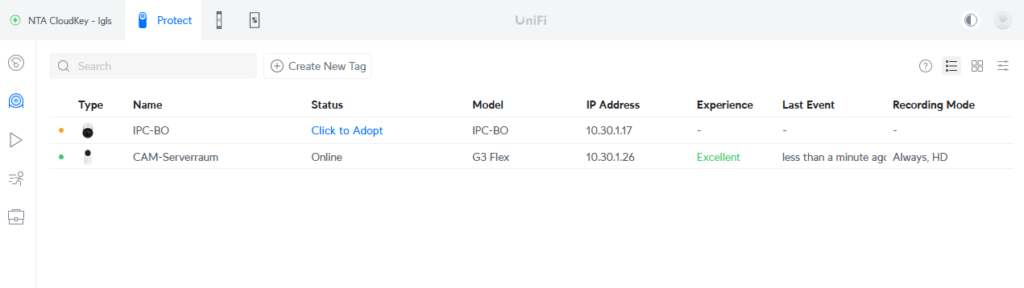
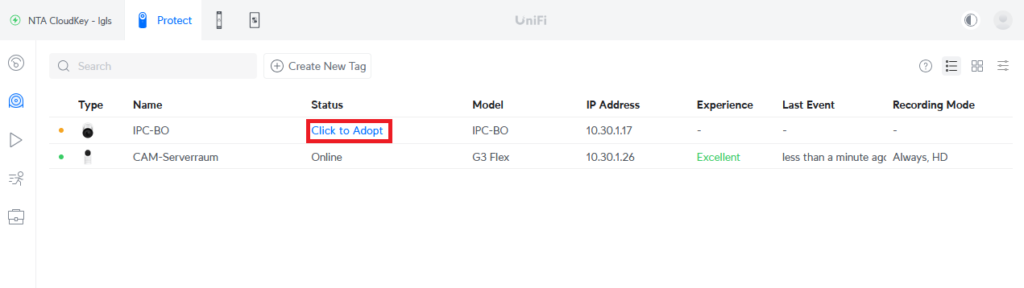
2. Now switch to “Unifi Devices”. If the Reolink camera is in the same subnet the camera will already be shown and is ready to get adopted:
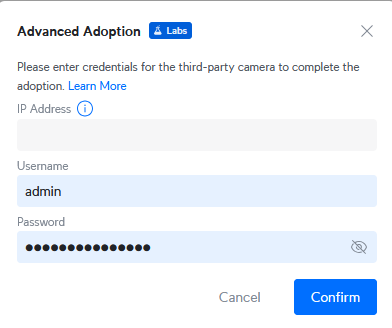
2a. If the camera is in a different subnet or not shown press the question mark button right on the top. A window is opened where you press “try advanced adoption”:
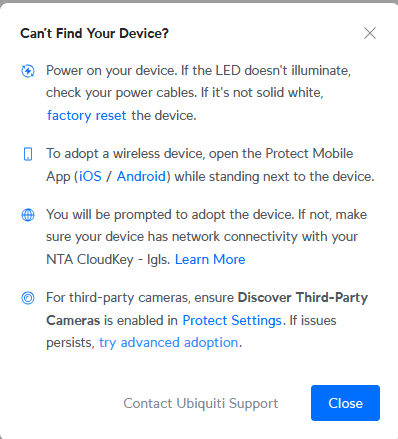
Now enter the IP-Address, Username and Password of the camera and press “Confirm”:
2b. In this case this is not necessary, we can directly press “Click to Adopt”:
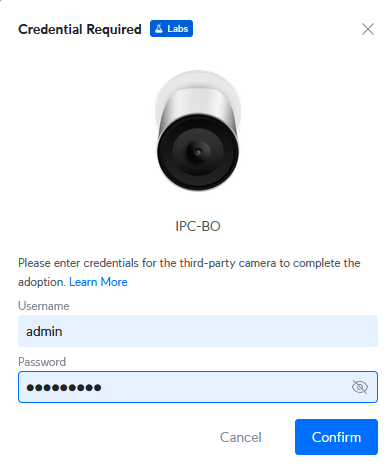
3. Enter the “Username” and “Password” and press “Confirm”:
After a short time the camera is adopted and ready to use:
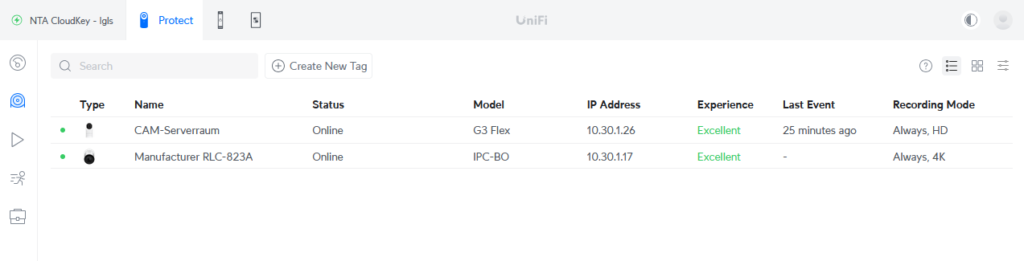
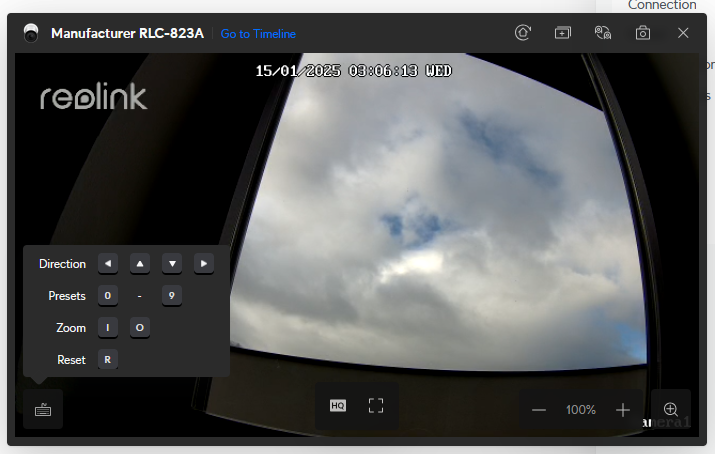
As you can see in the following screenshot, Protect also supports “native” features of the camera, like the integrated PTZ or zoom function of this Reolink camera:
Removing the camera:
Removing the camera is as simple as with other Unifi devices:
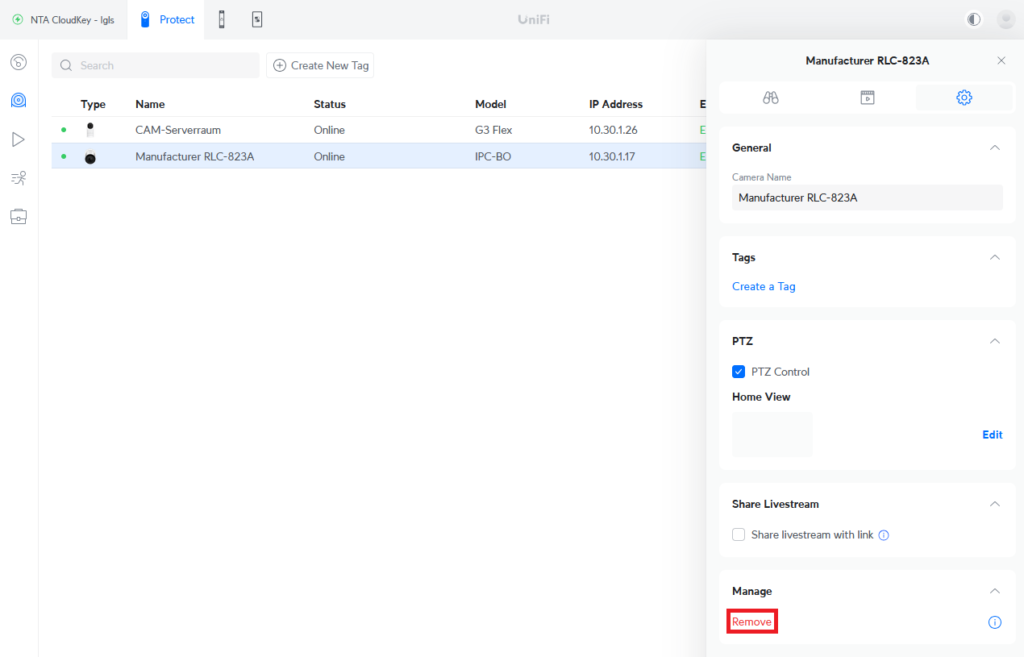
- Select the camera go to settings and press “Remove”:
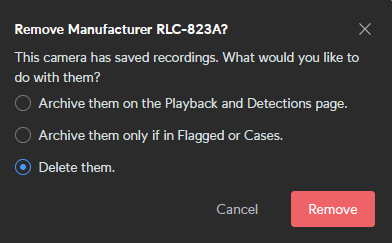
2. When pressing “Remove” you have to choose what should happen with the recorded videos of the camera. In this case I decide that they should be deleted:
After pressing remove it will take a short time before the camera is successfully removed:

